This article covers the known maps in the 2014 video game Alien: Isolation, including every map in the released game as well as the known unreleased maps that were cut from the finished product.
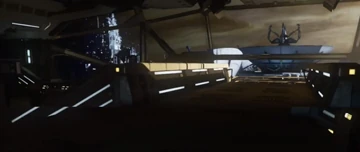
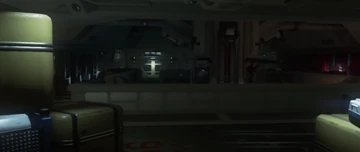
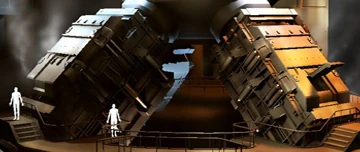
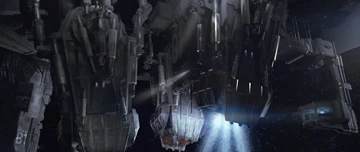
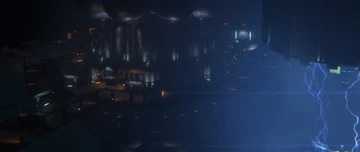
LV-426, including the Anesidora hangar and view over to the derelict.
BSP_LV426_Pt02
Used
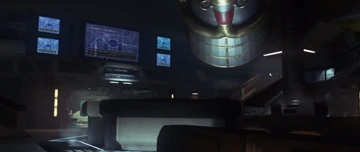
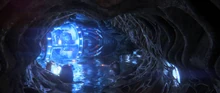
LV-426, inside the derelict.
BSP_LV426_Pt03
Cut
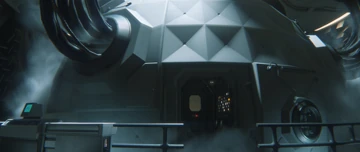
LV-426, cut from the game, presumed to be inside Anesidora. This can be seen in some concept art.
BSP_P01_TwoTeams
Cut
A map cut from the game, presumed to be a prologue to the main campaign where the player could control multiple characters, similar to how the Crew Expendable DLC works.
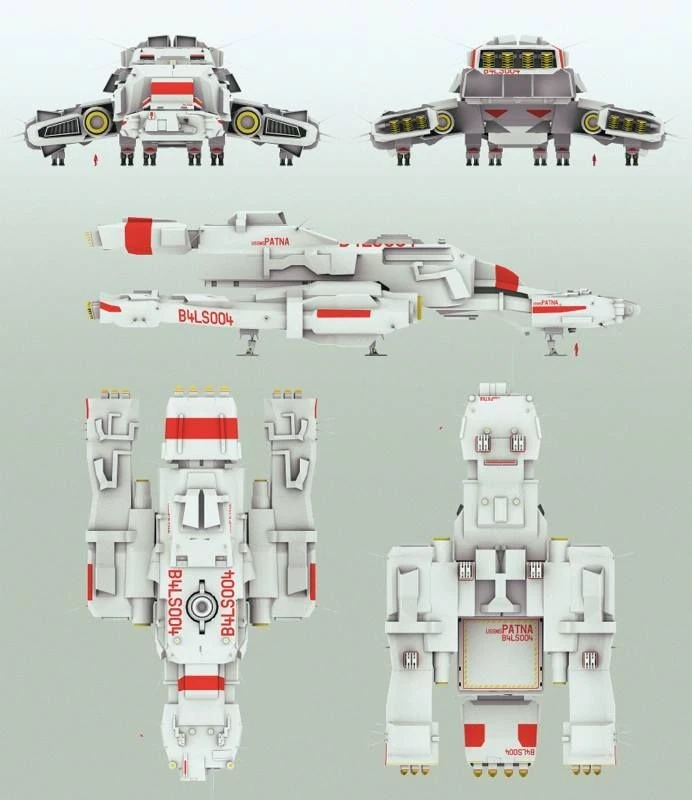
BSP_Patna
Cut
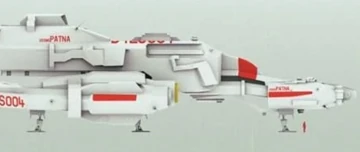
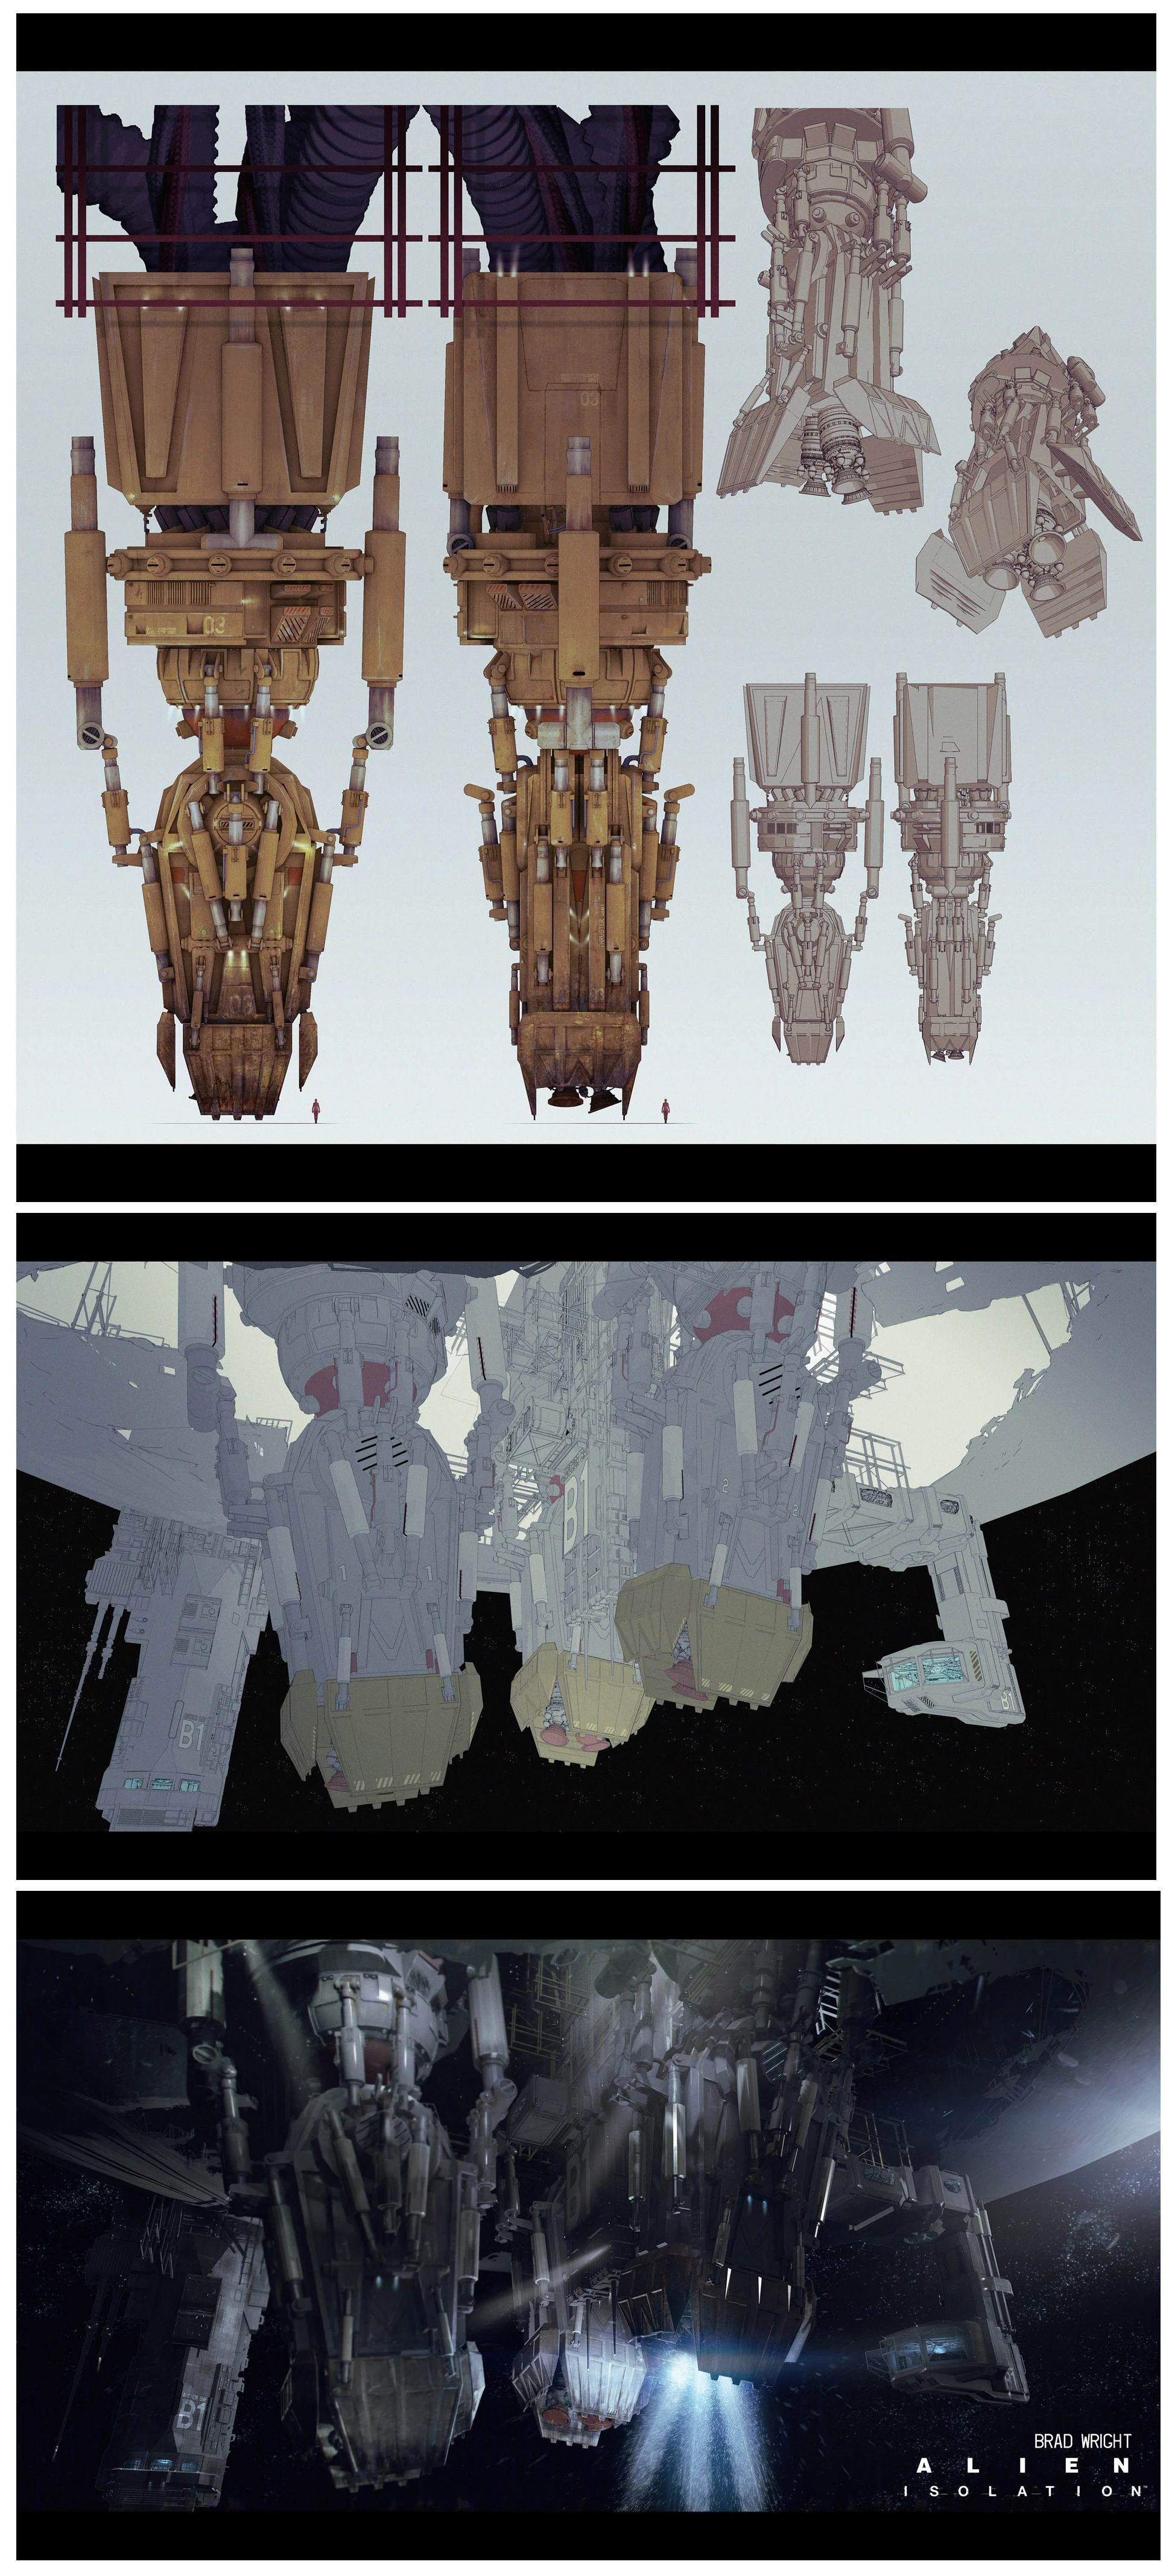
The Patna, a medical transport vessel cut from the game. This can be seen in multiple pieces of concept art.
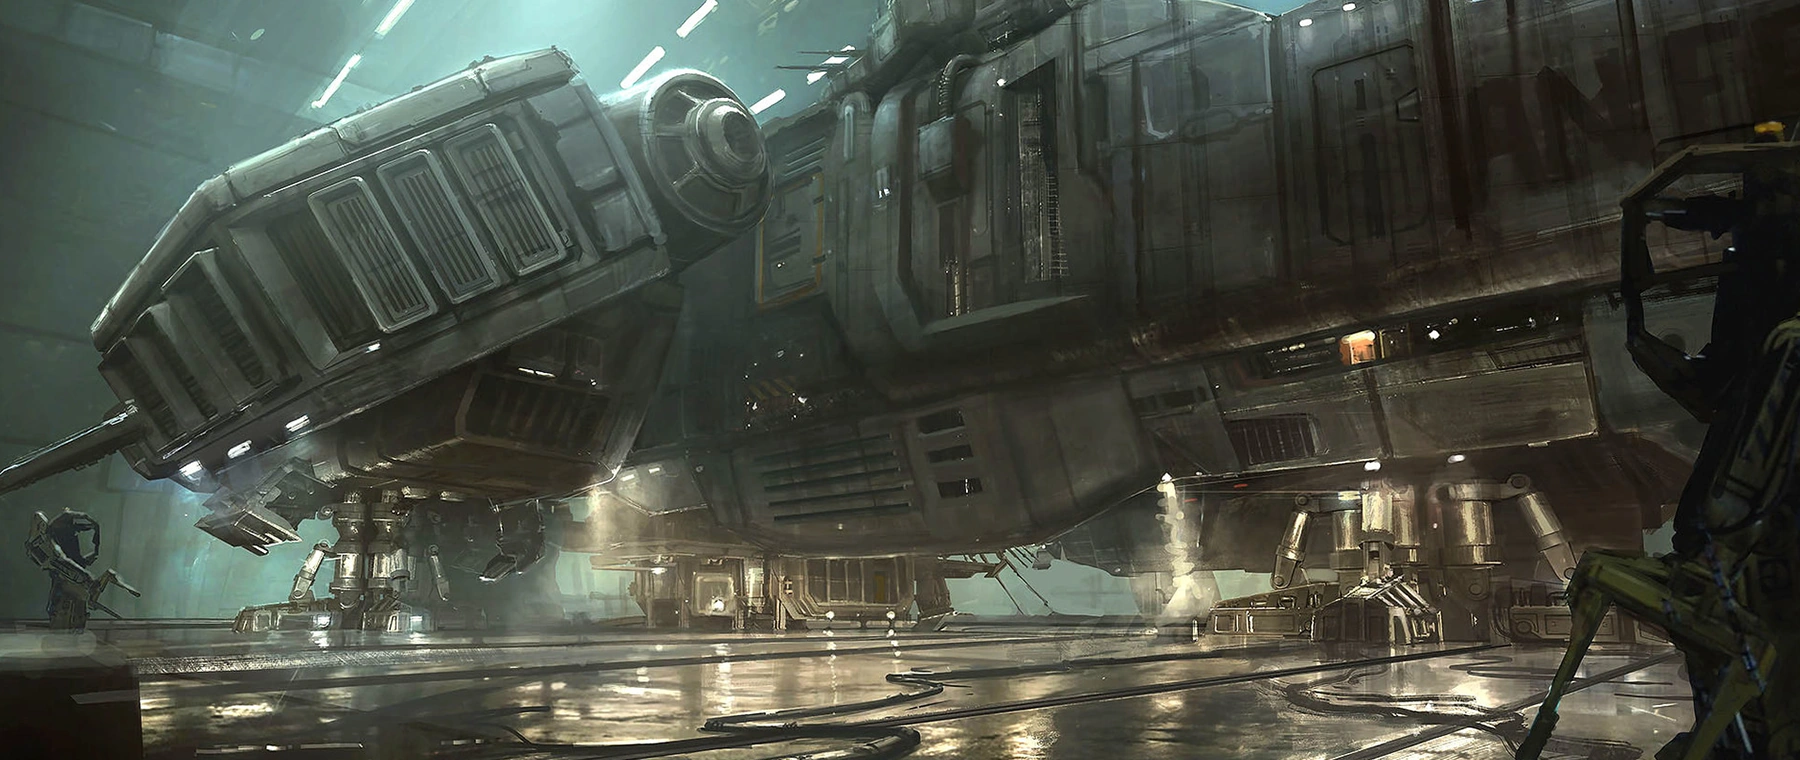
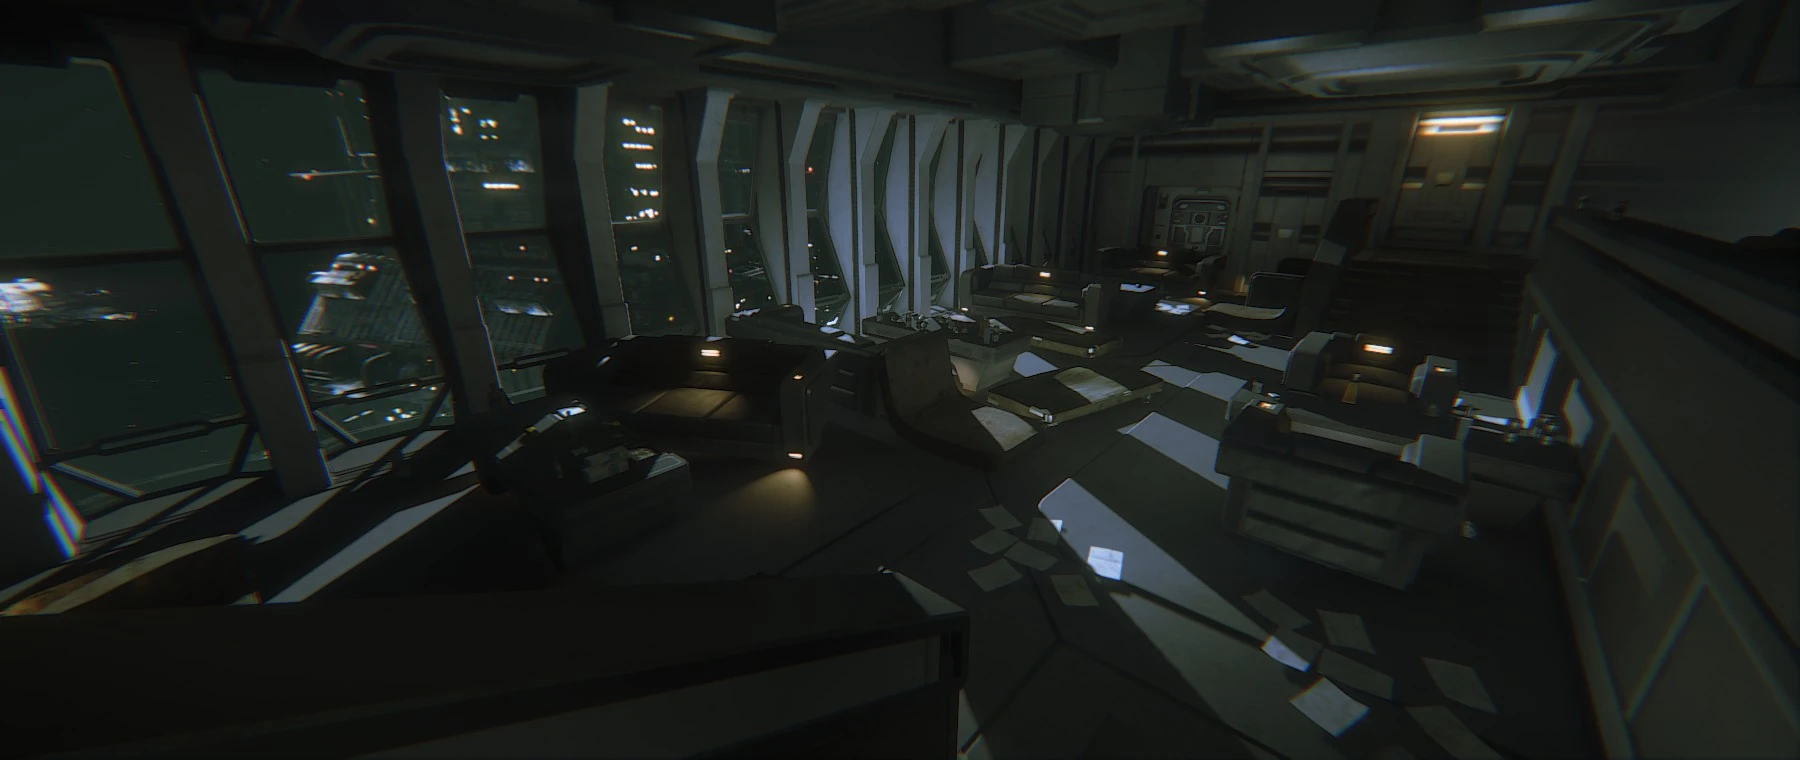
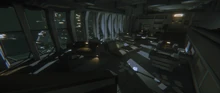
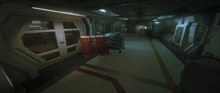
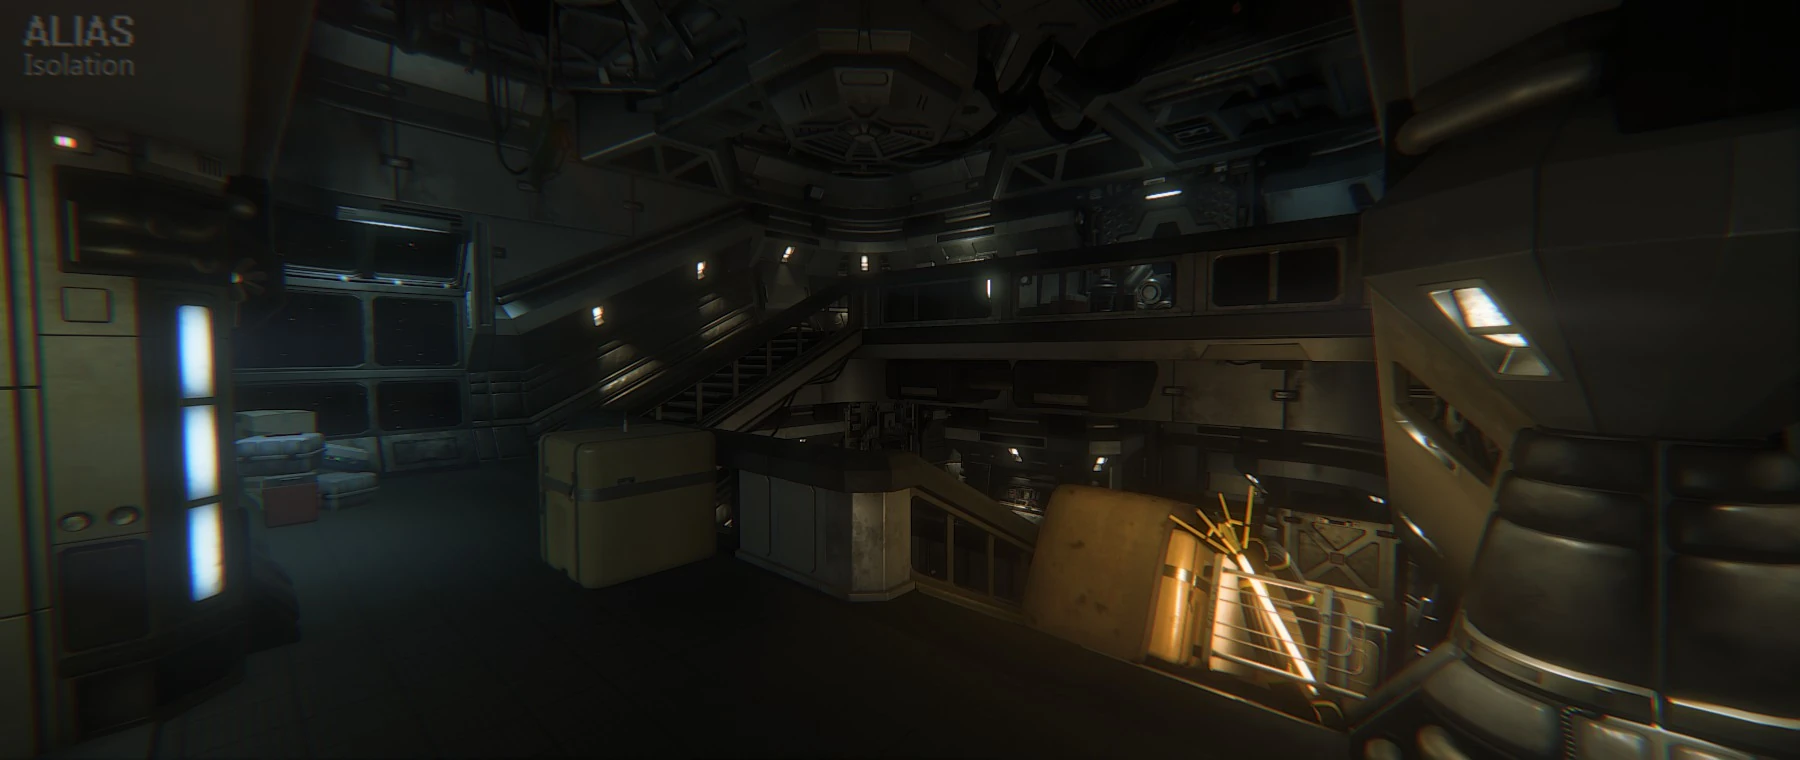
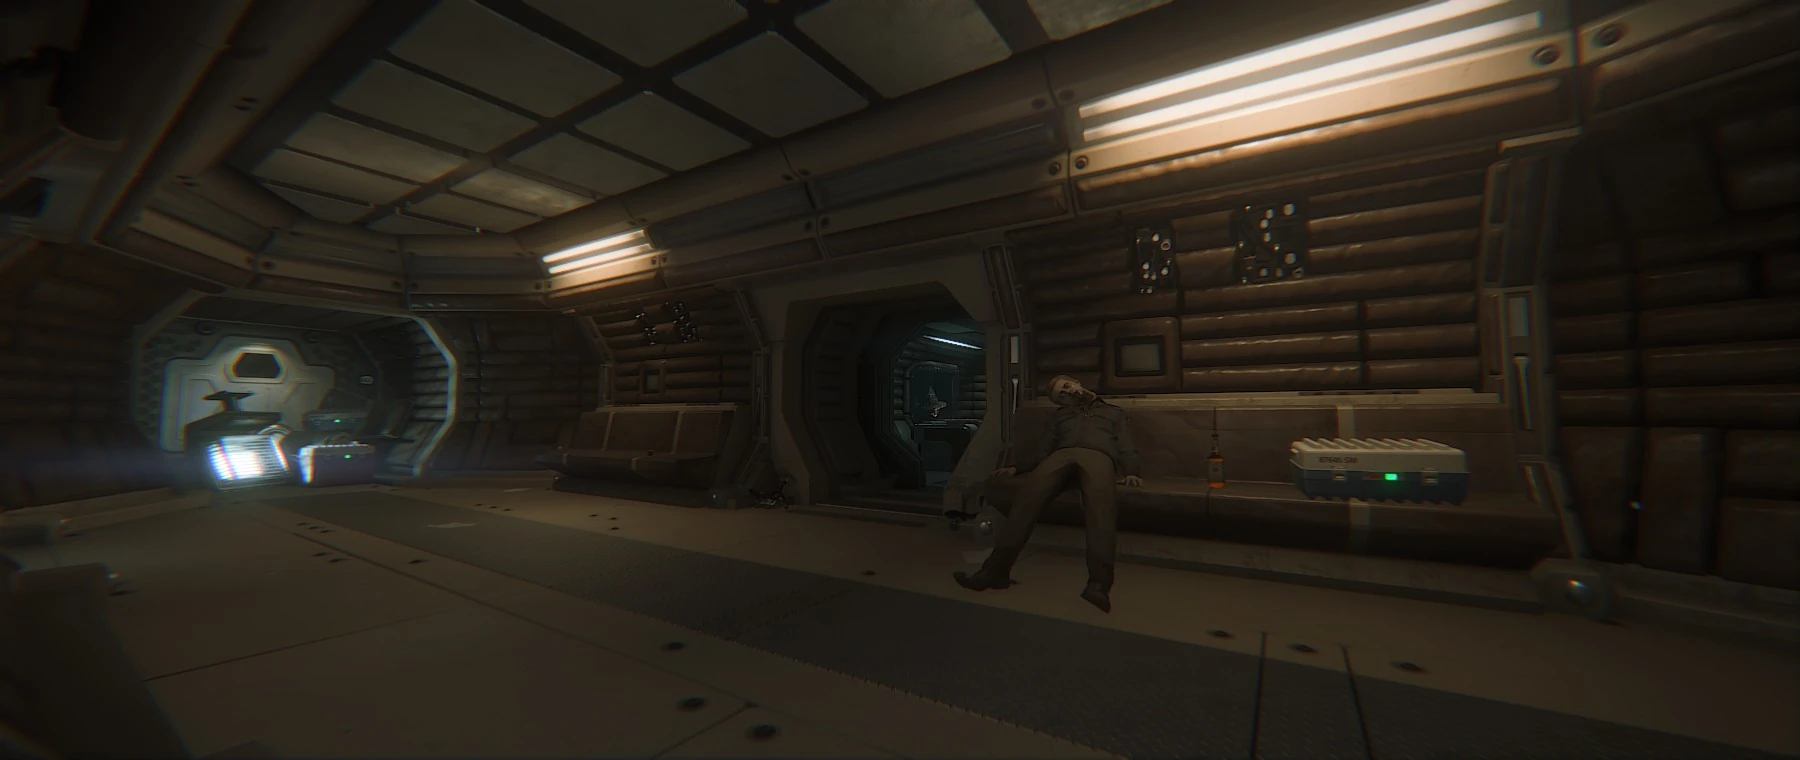
BSP_Torrens
Used
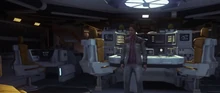
The Torrens, including the hypersleep area, canteen, medical area and bridge.
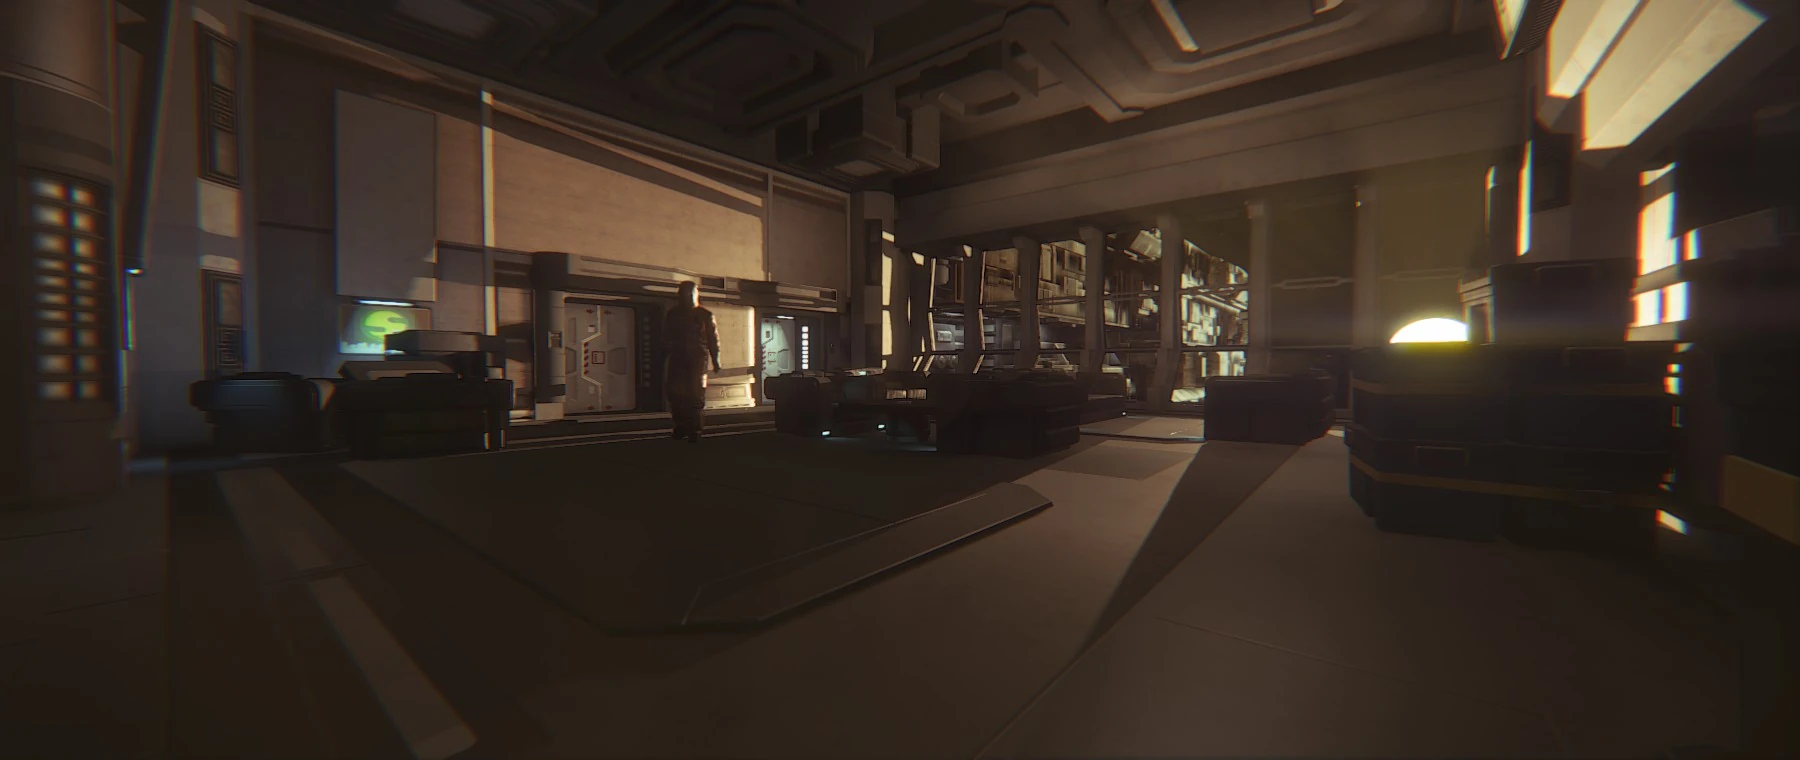
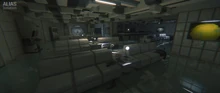
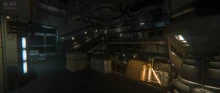
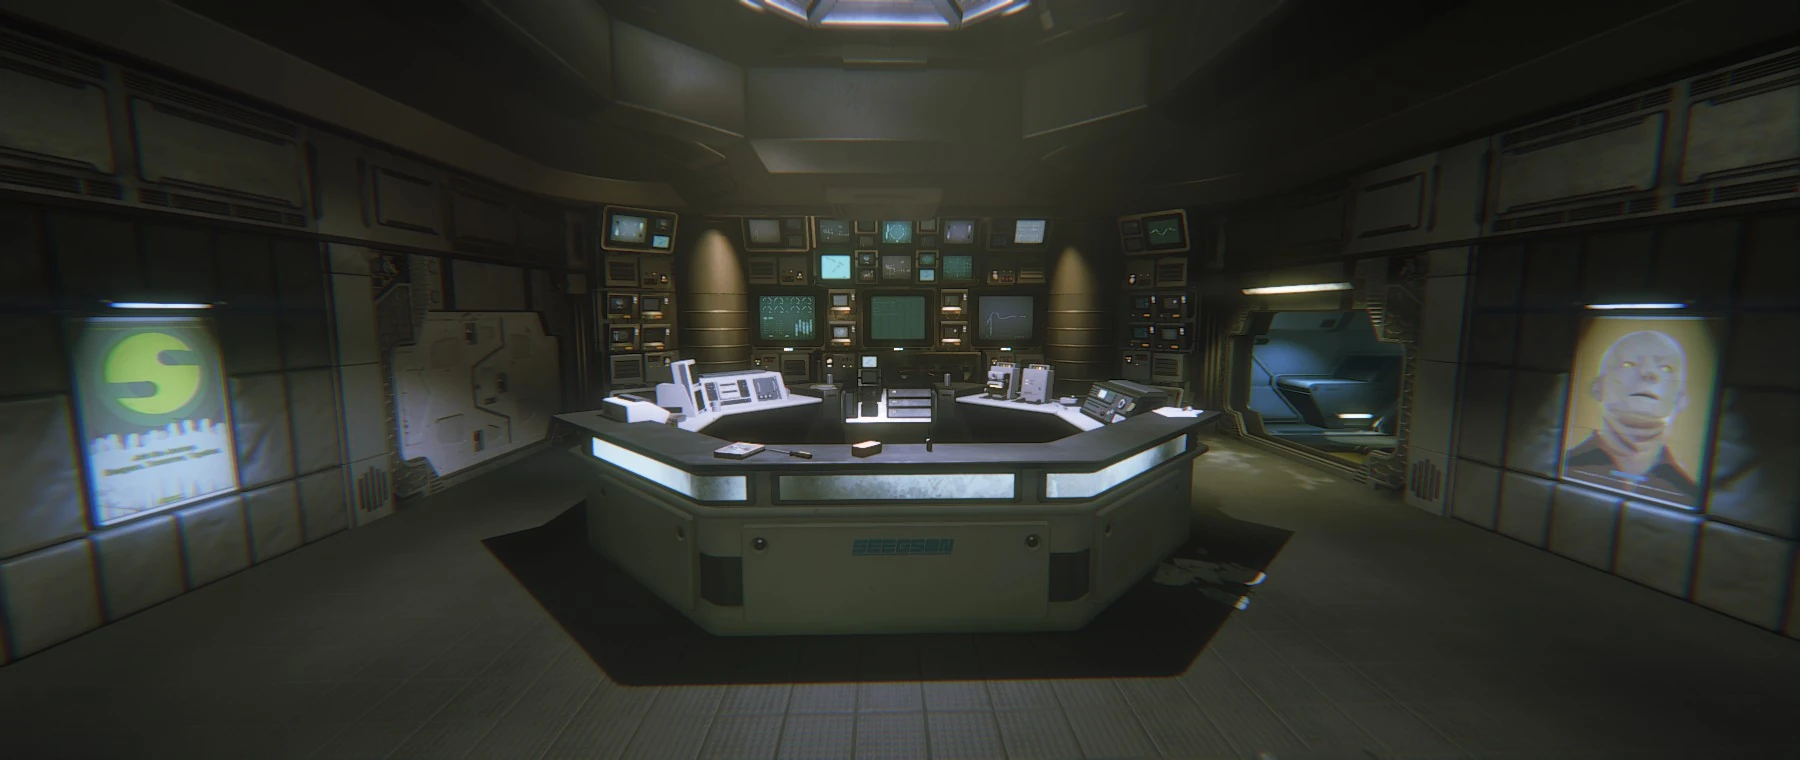
Solace
Used
Originally for the Solace, this map was re-purposed as the interior of the Anesidora in the final game. The Solace can be seen in concept art and animation references in the game files.
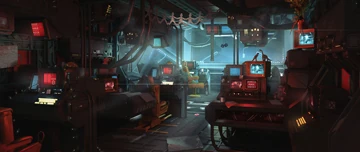
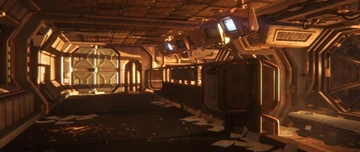
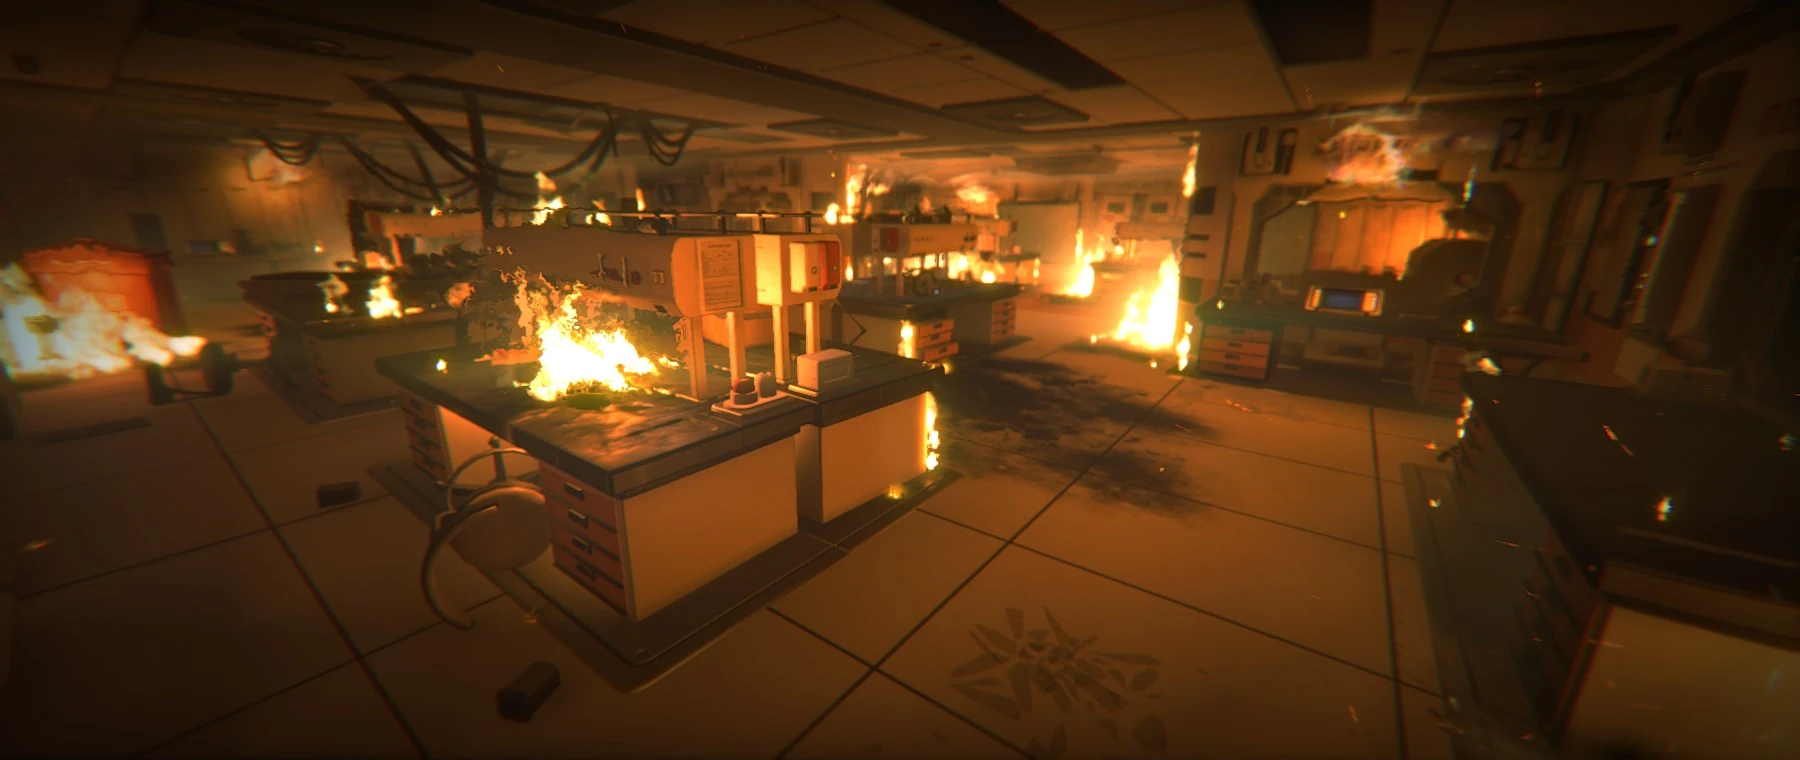
The Project KG-348 research labs, including the detachable lab. This section was used heavily in pre-release screenshots and videos, as well as the first playable demo. The first playable demo was nicknamed "Showlevel" and some demo-specific script names can be found in the game, along with some fog for the demo opening sequence. The "Showlevel" demo is still able to be seen on SteamDB, however unfortunately it is not open to the public for download.
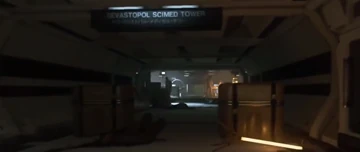
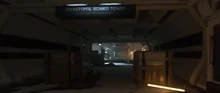
Sevastopol - SciMed Tower[]
Map Name
Status
Description
Picture
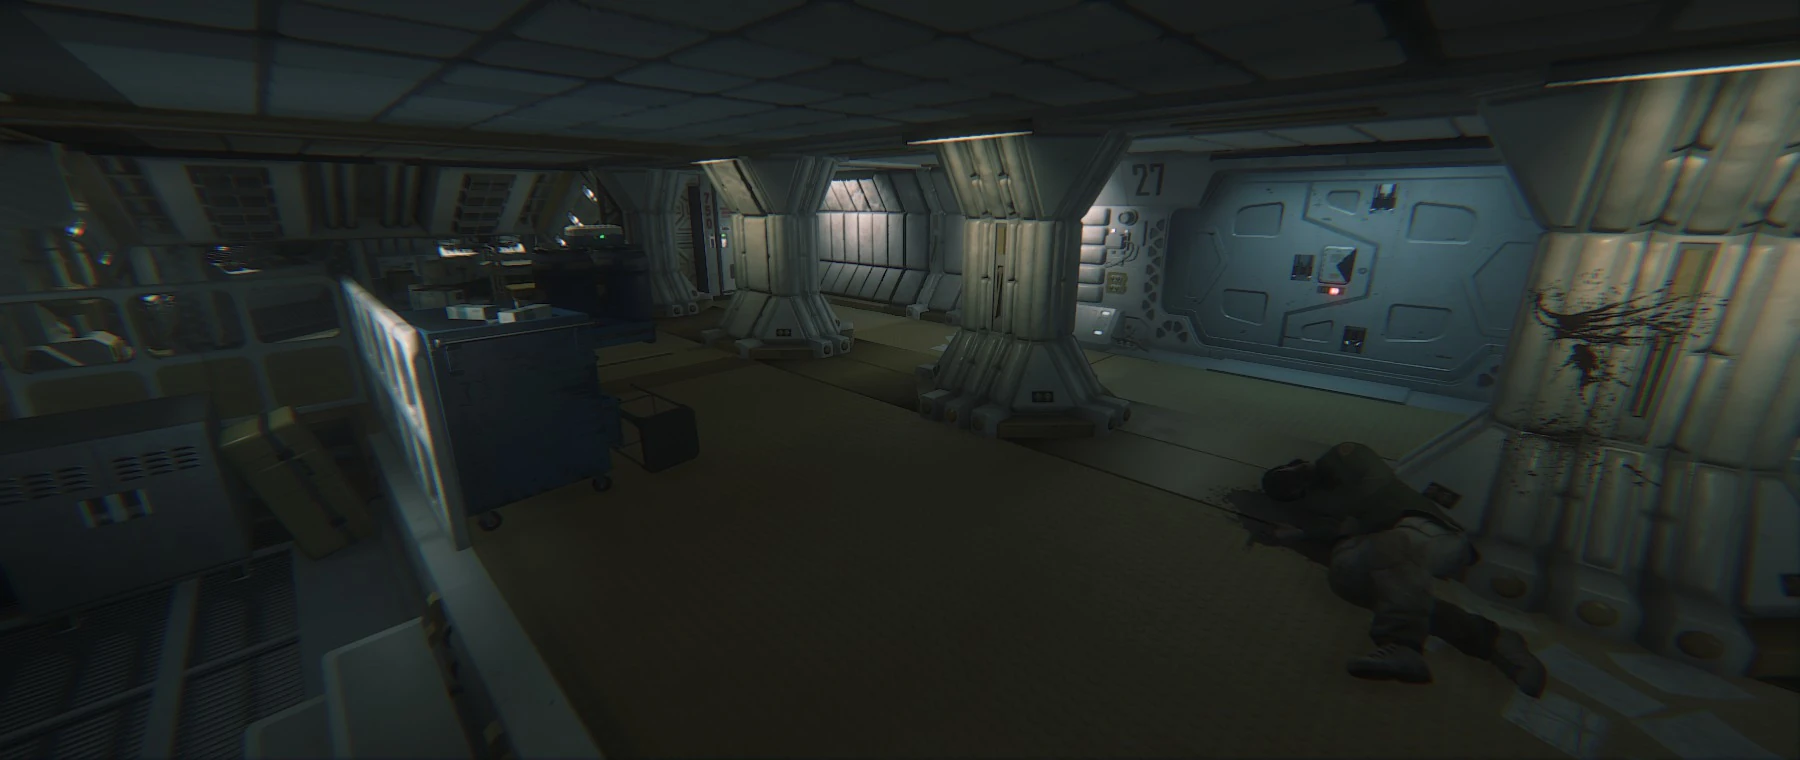
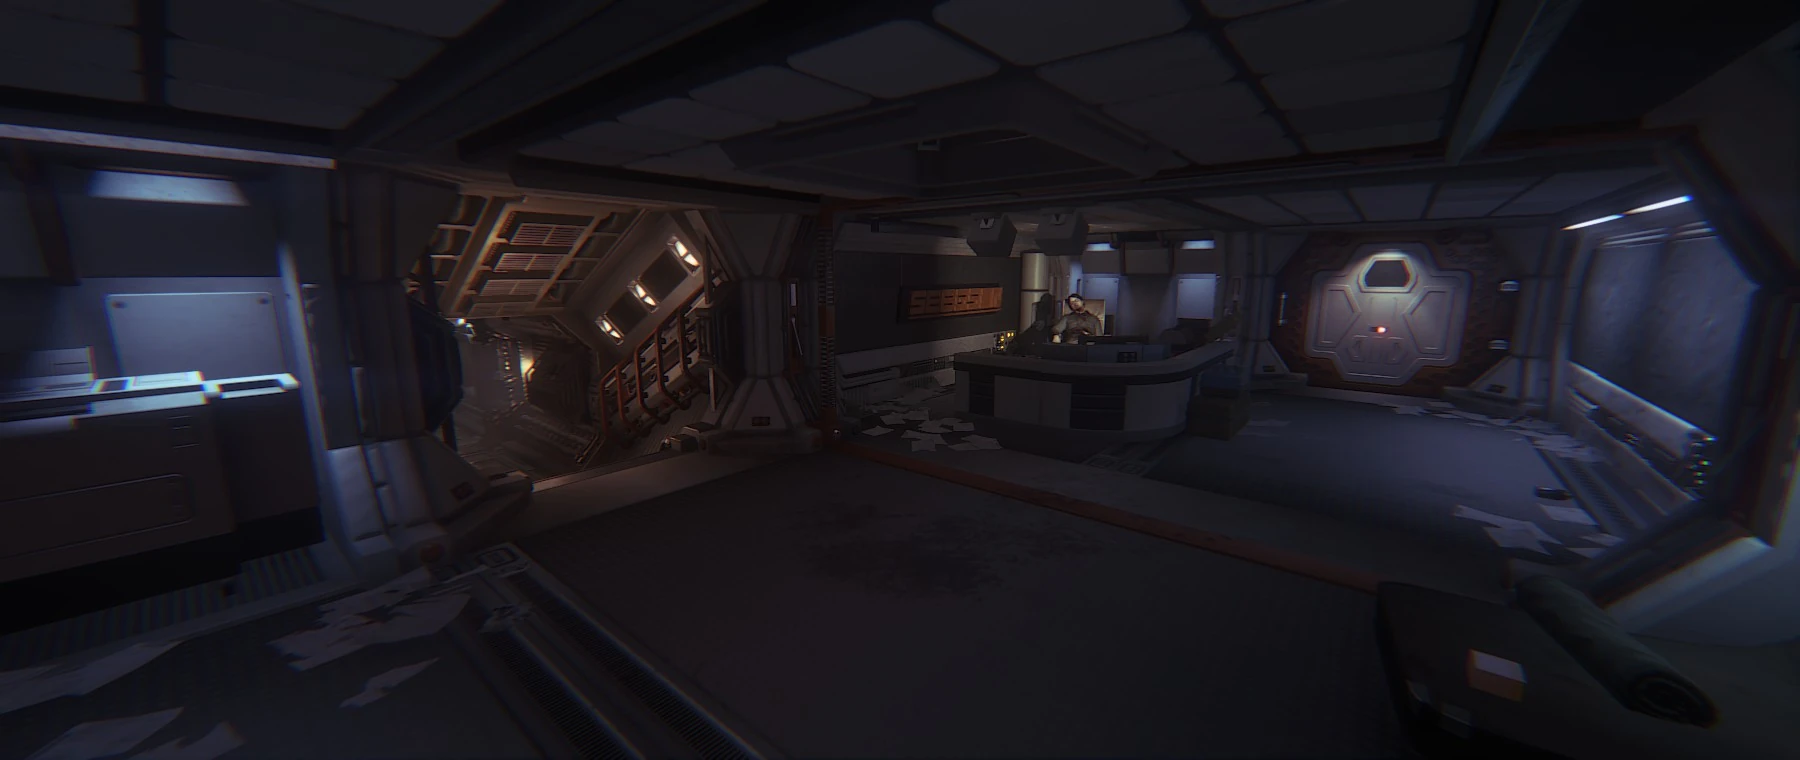
SCI_AndroidLab
Used
This map contains the entirety of Seegson Synthetics. This includes the Components Warehouse, Android Disposal, the Synthetic Showroom and Facility Administration. The transit station to APOLLO can be found here.
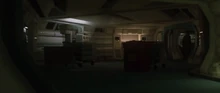
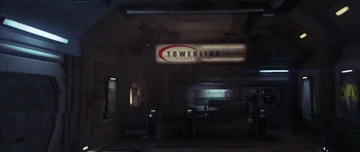
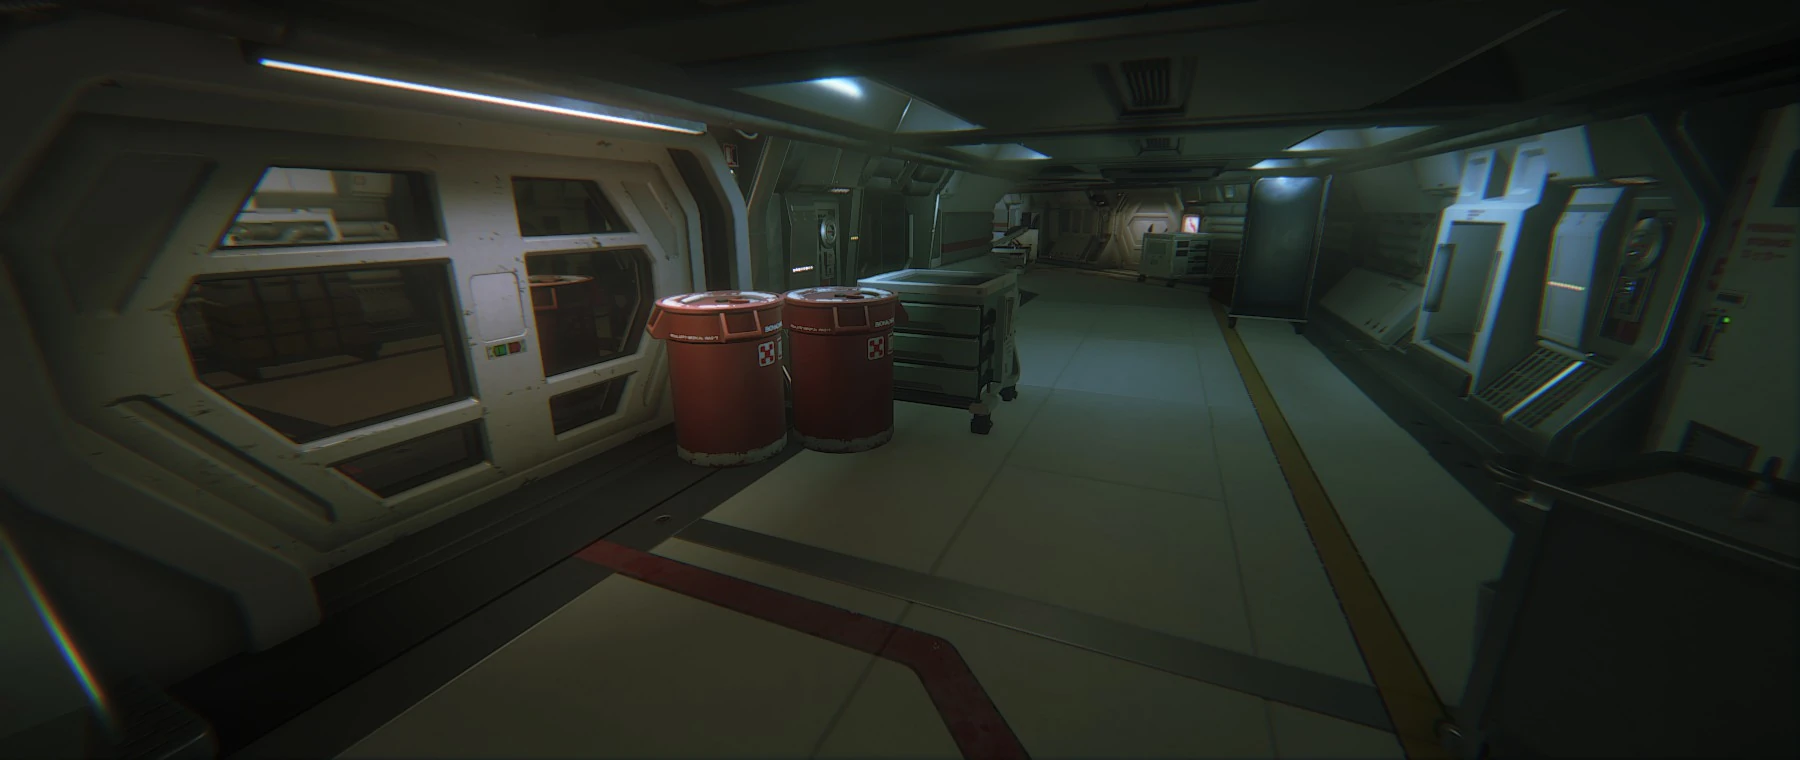
SCI_HospitalLower
Used
San Cristobal Medical lower floors, including the Ambulance Bay, Medical Reception, Medical Wards and Operating Theatre. This area was also used a lot in pre-release demos similar to the Project KG-348 labs. Mission 6 in the final game (M10_HOSPITAL_PLAYABLE) ended up using an alternate version of the E3 demo on this map, utilising a series of different animations and sequences from the original non-E3 mission.
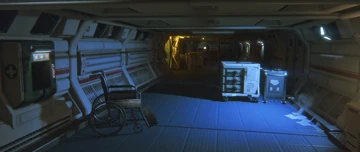
SCI_HospitalUpper
Used
San Cristobal Medical upper floors, including Dr. Kuhlman's office, Psychiatric Wards, Staff Quarters and Patient Rooms.
SCI_Hub
Used
The central area of the SciMed Tower where the transit arrives, leading to the upper and lower areas of San Cristobal Medical, and Seegson Synthetics. The Transit Control area can be accessed through an elevator.
Sevastopol - Solomons Habitation Tower[]
Map Name
Status
Description
Picture
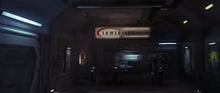
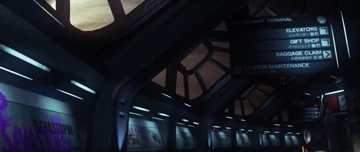
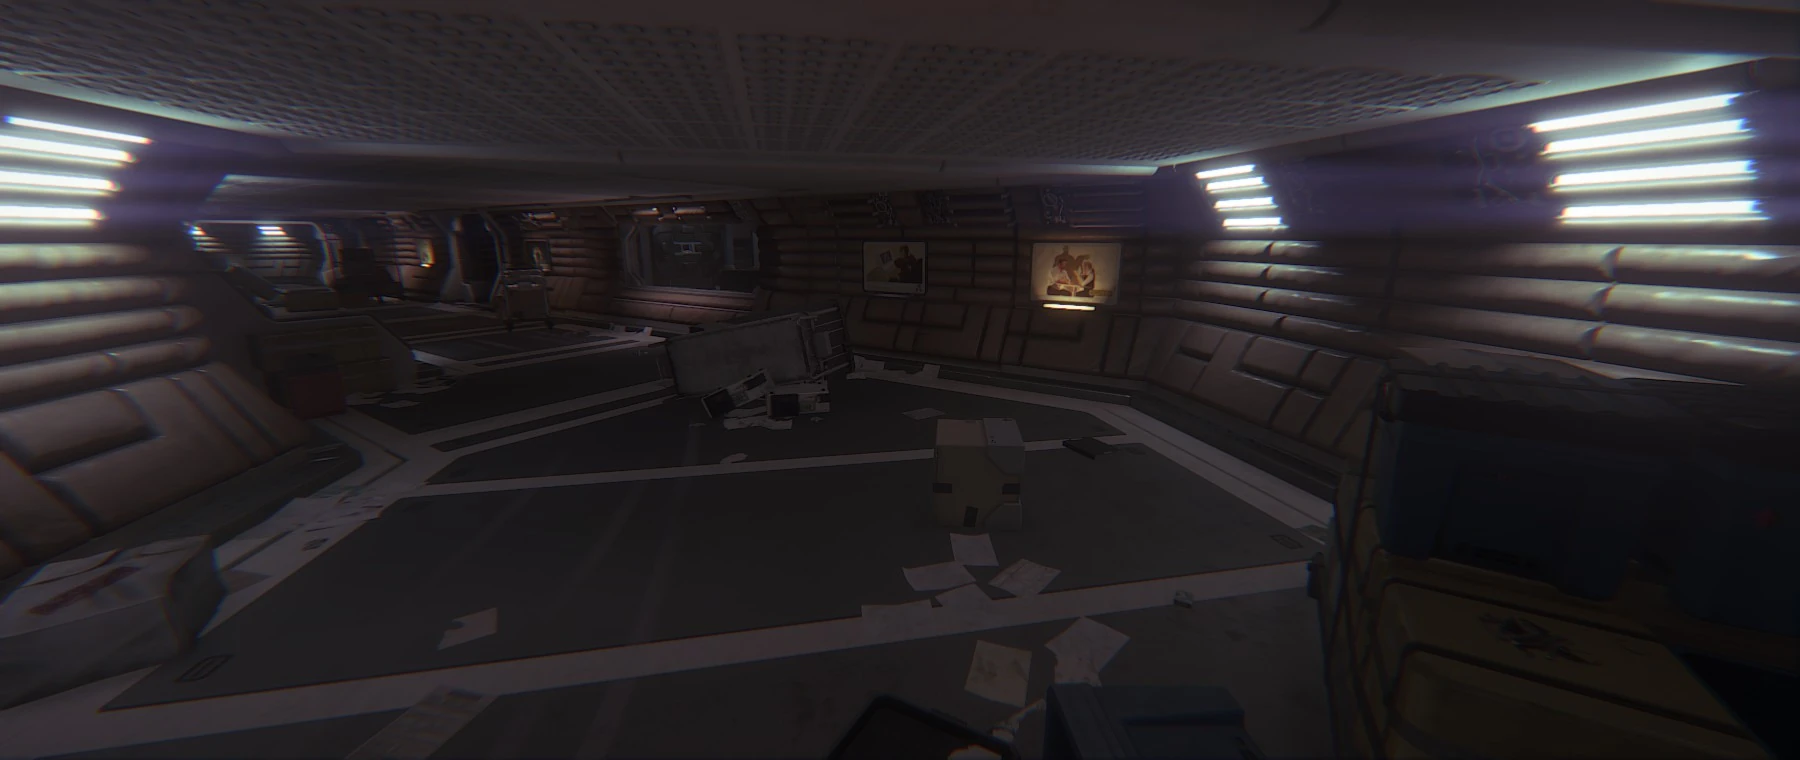
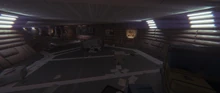
HAB_Airport
Used
The area where Amanda initially arrives on Sevastopol, including the Spaceflight Terminal and baggage reclaim area. Also contains Axel's den and lower airport sections where Axel and Amanda meet looters, believed to be repurposed from the cut ENG_DryDockCargo map.
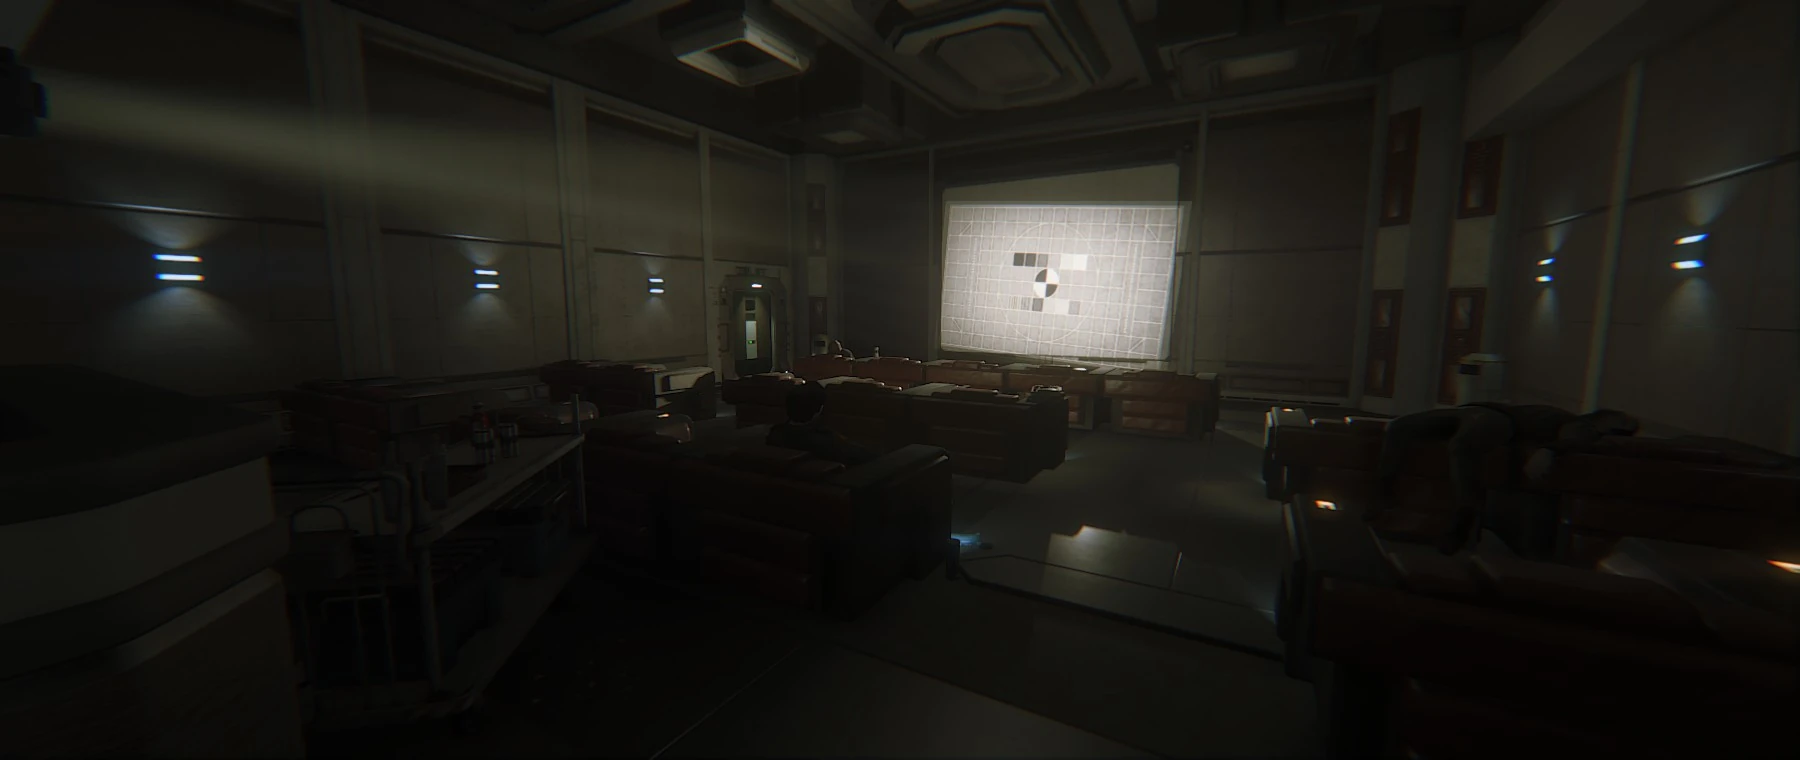
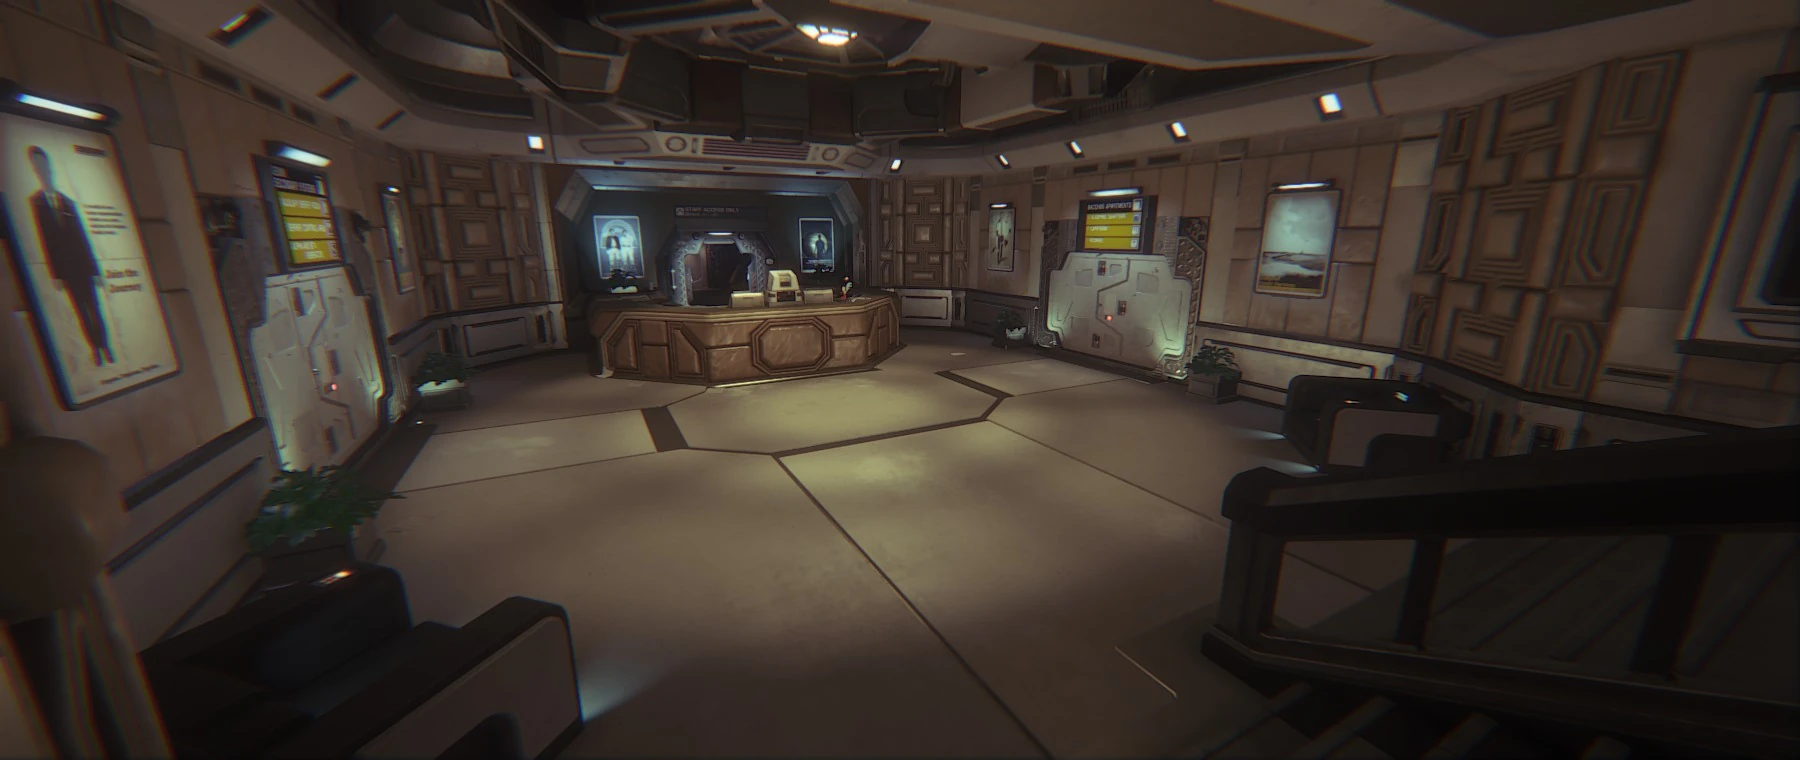
HAB_CorporatePent
Used
The Corporate Penthouses, including the two transit waiting areas, canteen, projector room, library, entertainment terminals and games room.
The Hive below the Reactor Core, it can only be accessed through the Reactor Core on mission 14 by an elevator.
ENG_CoolingPlant
Cut
Sevastopol's Cooling Plant. There is some concept art which seems to depict the Cooling Plant.
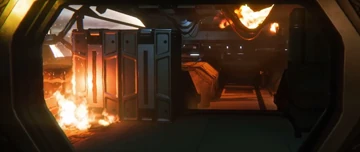
ENG_DryDock / ENG_DryDockCargo
Cut
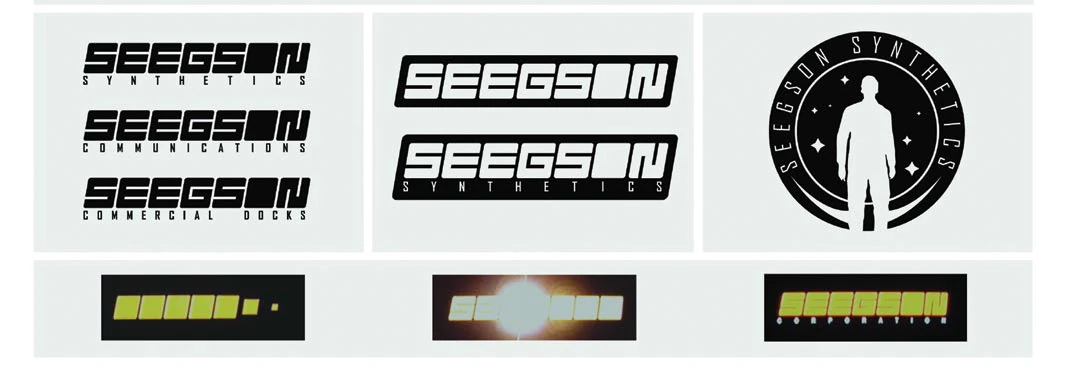
The Dry Dock is where Henry Marlow and Amanda go to blow up The Anesidora in the alternate storyline. Two versions of the Dry Dock (Dry Dock and Dry Dock Cargo) are found referenced in the game files, with the latter seemingly being repurposed for the lower section of HAB_Airport where Axel's den is located. A crew patch is seen in the game for the "Hangar Crew", and a cut badge is shown in concept art for the "Commercial Docks" which is possibly from the Dry Dock.
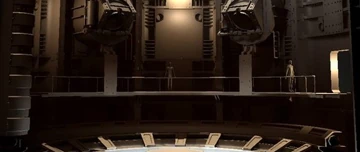
ENG_Gravity_Anchor
Cut
Amanda would visit this area in the mission codenamed "M29_PLAN_B". She would turn off the gravity anchors causing Sevastopol to begin crashing into KG-348. Lots of concept art exists of the gravity anchors as well as sounds left over in the game files, however no in-game screenshots have been seen.
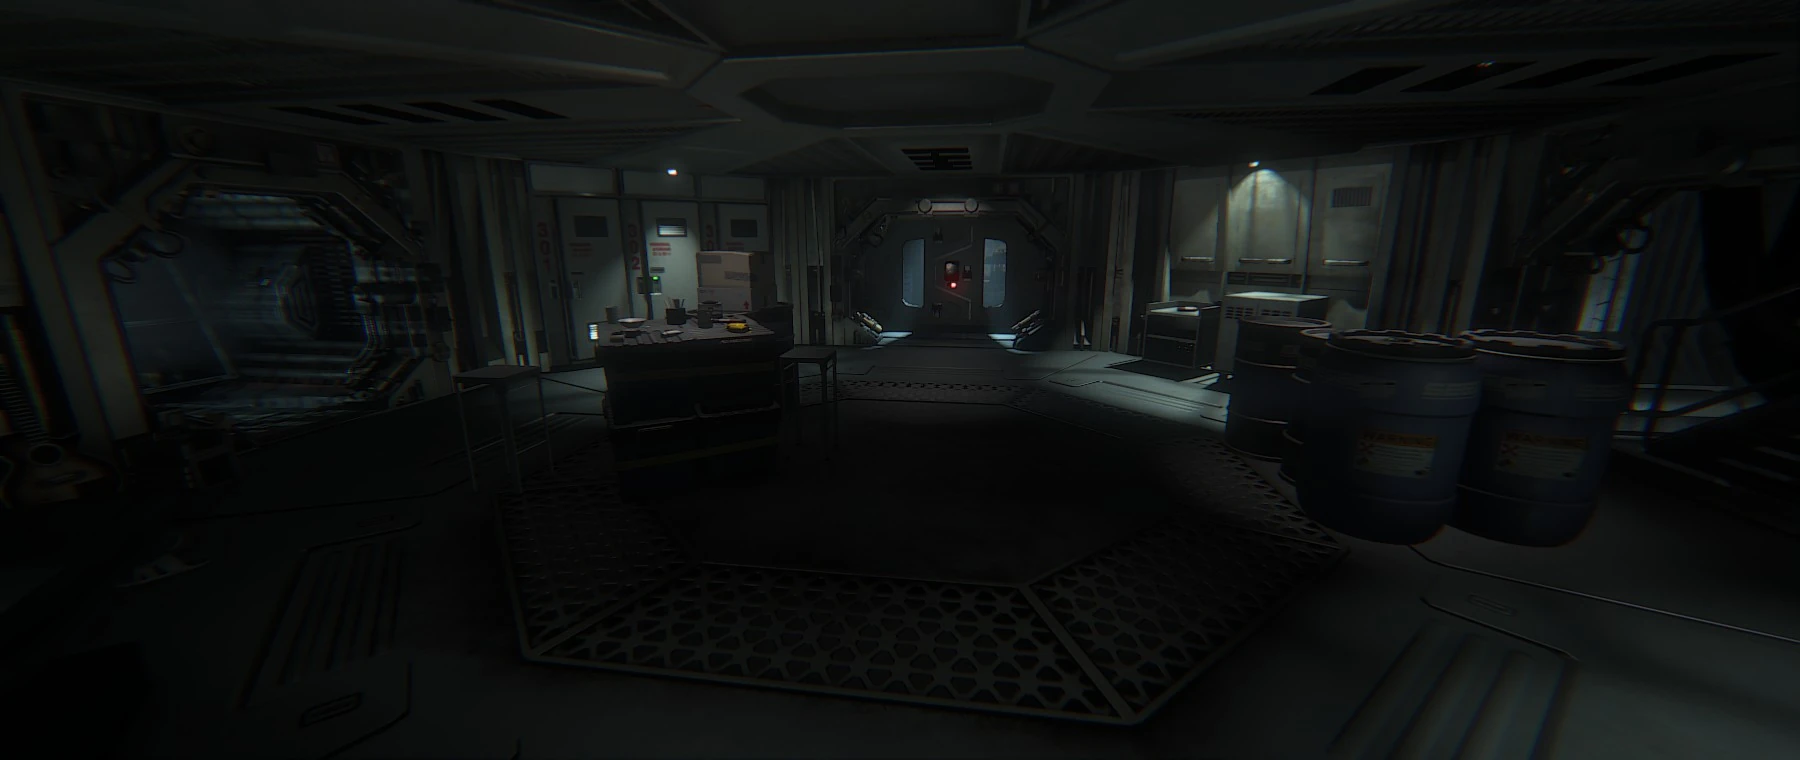
ENG_ReactorCore
Used
This map includes the Reactor Core and Facility Management areas. A significant portion of this map is re-used from the game's IL3 demo.
ENG_TowPlatform
Used
This map includes the Tow Platform, second Hive (plus the ruined transit tunnels leading away from the Hive) and docking clamp.
ENG_WasteChute
Cut
The Waste Chute was an area cut from the final game which would take the player around a tall circular room, as shown in some concept art. It is possible that the player would have had to time walking around this area to avoid the waste being dumped, similar to how the player has to avoid the steam vents when walking along the ledge in Seegson Synthetics.
ENG_WasteManagement
Cut
The Waste Management area of Sevastopol. There is some concept art that seems to show this area.
"Blast Seat" - a Survivor Mode map available as part of The Trigger DLC pack.
ChallengeMap2
Cut
This map was reworked into the Safe Haven DLC pack, becoming the Bacchus Apartments.
ChallengeMap3
Used
"Overrun" - a Survivor Mode map available as part of the Trauma DLC pack.
ChallengeMap4
Used
"Severance" - a Survivor Mode map available as part of the Corporate Lockdown DLC pack.
ChallengeMap5
Used
"Scorched Earth" - a Survivor Mode map available as part of the Corporate Lockdown DLC pack.
ChallengeMap6
Cut
This map was reworked into the Lost Contact DLC pack, becoming the Lorenz Private Wards.
ChallengeMap7
Used
"Reoperation" - a Survivor Mode map available as part of the Trauma DLC pack.
ChallengeMap8
Cut
Not much is known about this map, however it is referenced in the game files and could have potentially been planned to form a 6th DLC pack for the game. A 6th DLC pack is visible on Steam and SteamDB but not available for purchase.
ChallengeMap9
Used
"Crawl Space" - a Survivor Mode map available as part of the Trauma DLC pack.
ChallengeMap10
Cut
This map was reworked into the Safe Haven DLC pack, becoming Gemini Secondary Systems.
ChallengeMap11
Used
"Loose Ends" - a Survivor Mode map available as part of the Corporate Lockdown DLC pack.
ChallengeMap12
Used
"Damage Control" - a Survivor Mode map available as part of The Trigger DLC pack.
ChallengeMap13
Cut
This map was reworked into the Lost Contact DLC pack, becoming the S6 Emergency Power Plant.
ChallengeMap14
Used
"The Package" - a Survivor Mode map available as part of The Trigger DLC pack.
ChallengeMap15
Cut
Not much is known about this map, however it is referenced in the game files and could have potentially been planned to form a 6th DLC pack for the game. A 6th DLC pack is visible on Steam and SteamDB but not available for purchase.
ChallengeMap16
Used
"The Basement" - a free Survivor Mode map included with the game.
SalvageMode1
Used
"Safe Haven" - the only map in the Safe Haven DLC pack, containing Gemini Secondary Systems and the Bacchus Apartments.
SalvageMode2
Used
"Lost Contact" - the only map in the Lost Contact DLC pack, containing the Lorenz Private Wards and the S6 Emergency Power Plant.
DLC1_TECH_Comms / DLC_DLC1_TECH_Comms
Cut
Titled "TECH - Comms", this is seemingly a rework of Seegson Communications for DLC.
In-game flavour text: "The Downloadable Content level DLC_DLC1_TECH_Comms"
DLC2_SCI_Hospital / DLC_DLC2_SCI_Hospital
Cut
Titled "SCI - Hospital", this is seemingly a rework of part of the San Cristobal Medical facility for DLC.
In-game flavour text: "The Downloadable Content level DLC_DLC2_SCI_Hospital"
DLC3_HAB_AIRPORT / DLC_DLC3_HAB_AIRPORT
Cut
Titled "HAB - Airport", this is seemingly a rework of the Spaceflight Terminal for DLC.
In-game flavour text: "The Downloadable Content level DLC_DLC3_HAB_AIRPORT"
Titled "HAB - Shopping Centre", this is seemingly a rework of part of Solomons Galleria for DLC.
In-game flavour text: "The Downloadable Content level DLC_DLC4_HAB_ShoppingCentre"
DLC5_Penthouse / DLC_DLC5_Penthouse
Cut
Titled "Penthouse", this is potentially a rework (or original map) of Sevastopol's penthouses, which were cut from the game's main story but later seen in some shipped DLC maps.
In-game flavour text: "The Downloadable Content level DLC_DLC5_Penthouse"
DLC_03
Cut
Unknown
BSP_DLC_04
Cut
Unknown
Transition Maps[]
EXT_CorpToShop
EXT_TechToEng
EXT_TorrensToAirport
TRANS_HabToTech
TRANS_SamuelsExpress
TRANS_SciToHab
The EXT_* maps would have most likely been used for the inter-tower transit shuttles, which were used heavier in the game's original cut storyline. The TRANS_* maps would have been used for the transit cars. Both EXT_* and TRANS_* are from level streaming tests, loading the next map without showing a loading screen. This functionality didn't make it to the final release of the game due to time constraints, and instead, players are shown a video loading screen during level transitions.


